This year a new side dish made its way to my holiday table. And this one is a keeper. If you are a newbie and don’t like time consuming meals. Try this! Great to accompany any main course but yet perfect on its own. And personally I will be making it year round. The maple syrup glazes the brussls sprouts and give them a nice crispiness on the outside but keeps the center soft. Crunchy, sweet with a nice spicy kick you should give this recipe a try.
Let’s get straight to it.
WHAT YOU NEED
1/2 lb Brussels sprouts
2 tbs avocado oil
2 tbs Maple Syrup
1/2 cup Walnuts
1/2 Cup Dried Cranberries
Salt & Pepper
Chili Flakes
WHAT TO DO
Preheat your oven to 375F
Wash brussels sprouts , trim the stem and remove all the outer leaves. Cut in half. Add salt, pepper and oil. Mix it all up and put it on a baking tray lined with parchment paper. Bake for 10 min, give it a mix and bake another 10 min. Take the tray out. Add 2 tbs maple syrup, walnuts and cranberries. Mix it generously so it all combines. Bake for another 10-15 min. Once you take them out add the chili flakes to taste.
Getting enough sleep is so important for our well being. I feel like right now in the winter, when the days are shorter and sun is shining a lot less my anxiety and stress levels are going up, I feel more depressed and my immune system is suffering from all this. I need a little extra sleep to get myself rested but it has also been really hard for me to fall asleep.
I have been making this herbal tea that helps me get into cozy bed mood. It’s great combination to add after dinner because it leads to easy and better digestion and also helps calm your mind.
WHAT YOU NEED Organic Peppermint Tea
Ashwagandha Powder
Honey
WHAT TO DO
All you need is to steep some organic Peppermint tea and while waiting for it to release its flavor take about a teaspoon of Ashwagandha powder in your favorite mug , add honey and mix it together. This way the powder will be combined with the liquid and won’t just sit on top. Then just pour the tea over. Sip this after dinner.
Ashwagandha Powder has a lot of great benefits but a distinctive bitterness. If you can handle the taste I would suggest to add more than a teaspoon to get more of its powerful benefits.
I love a chilled glass of wine after a long day and something easy to snack on. I am trying to stay alway from processed meats and I do not eat cheese . So I always have to be creative and come up with something else that pairs well with my wine. This bruschetta is a perfect twist to the classic Italian appetizer. So easy to make and so freaking good! I won’t waste your time and go straight to the recipe so you guys can try it for yourself and I hope you do and you get a taste of this heaven.
WHAT YOU NEED
2-3 Medium heirloom tomatoes
2-3 cloves of garlic
1 Avocado
Fresh Basil
Extra Virgin Olive oil
Balsamic Reduction
Salt & Pepper
Pesto ( I always make my own )
Crusty Bread
WHAT TO DO
In a large bowl add tomatoes cut into cubes, add avocado cut into cubes, add fresh basil and toss it all together. You have an option to add minced garlic here, but since I don’t like mine super garlic-y I will share the way I do it and I believe it’s the authentic way. Also don’t add the salt here. It will make the mixture soggy as it drains the liquid from the tomatoes.
Slice the bread and pop it in the oven on broil for couple of minutes. Once out take a clove of garlic, cut it into half and rub the bread with the cut part. Spread pesto and drizzle olive oil. Then put on the tomato, avo and basil mix, drizzle balsamic reduction and add a little bit salt and pepper. Enjoy!
I love to enjoy a good cocktail with friends by the pool. Now with the whole pandemic situation I am deeply reminiscing those days. I can’t hang out with friends, it’s too cold for a pool but no one said I can’t enjoy the cocktail part.
Mojito is one of my all time favorite drinks but this updated version that I created once while mixing up a drink is just out of this world!
This cocktail is so refreshing, delicious and it looks so pretty that you wouldn’t want to drink it before you take few photos for IG. It’s great to serve to your guests at a backyard summer party. It looks really fancy and your friends will be amazed from your bartending skills, but it is way easier than it looks.
WHAT YOU NEED
White Rum
Sparkling water or Club Soda
Mint
Brown Sugar
Fresh Lime
Kiwi
Açaí Berry Puree
*I buy açaí berry from Trader Joes, they have it in the frozen section
WHAT TO DO
Muddle mint, slice of kiwi, wedge of lime , squeeze of lime juice and 1/2 tsp brown sugar in a shaker
Add a shot of white rum & mix up
Add some frozen açaí berry
Pour in a glass filled with ice
Add in club soda
Garnish with kiwi & fresh mint
Always be kind to the environment and use paper or reusable straws. They are way cooler anyway!!
The nice thing about this cocktail is that it is filled with antioxidants and Vitamin C so I never feel guilty when having a second one.
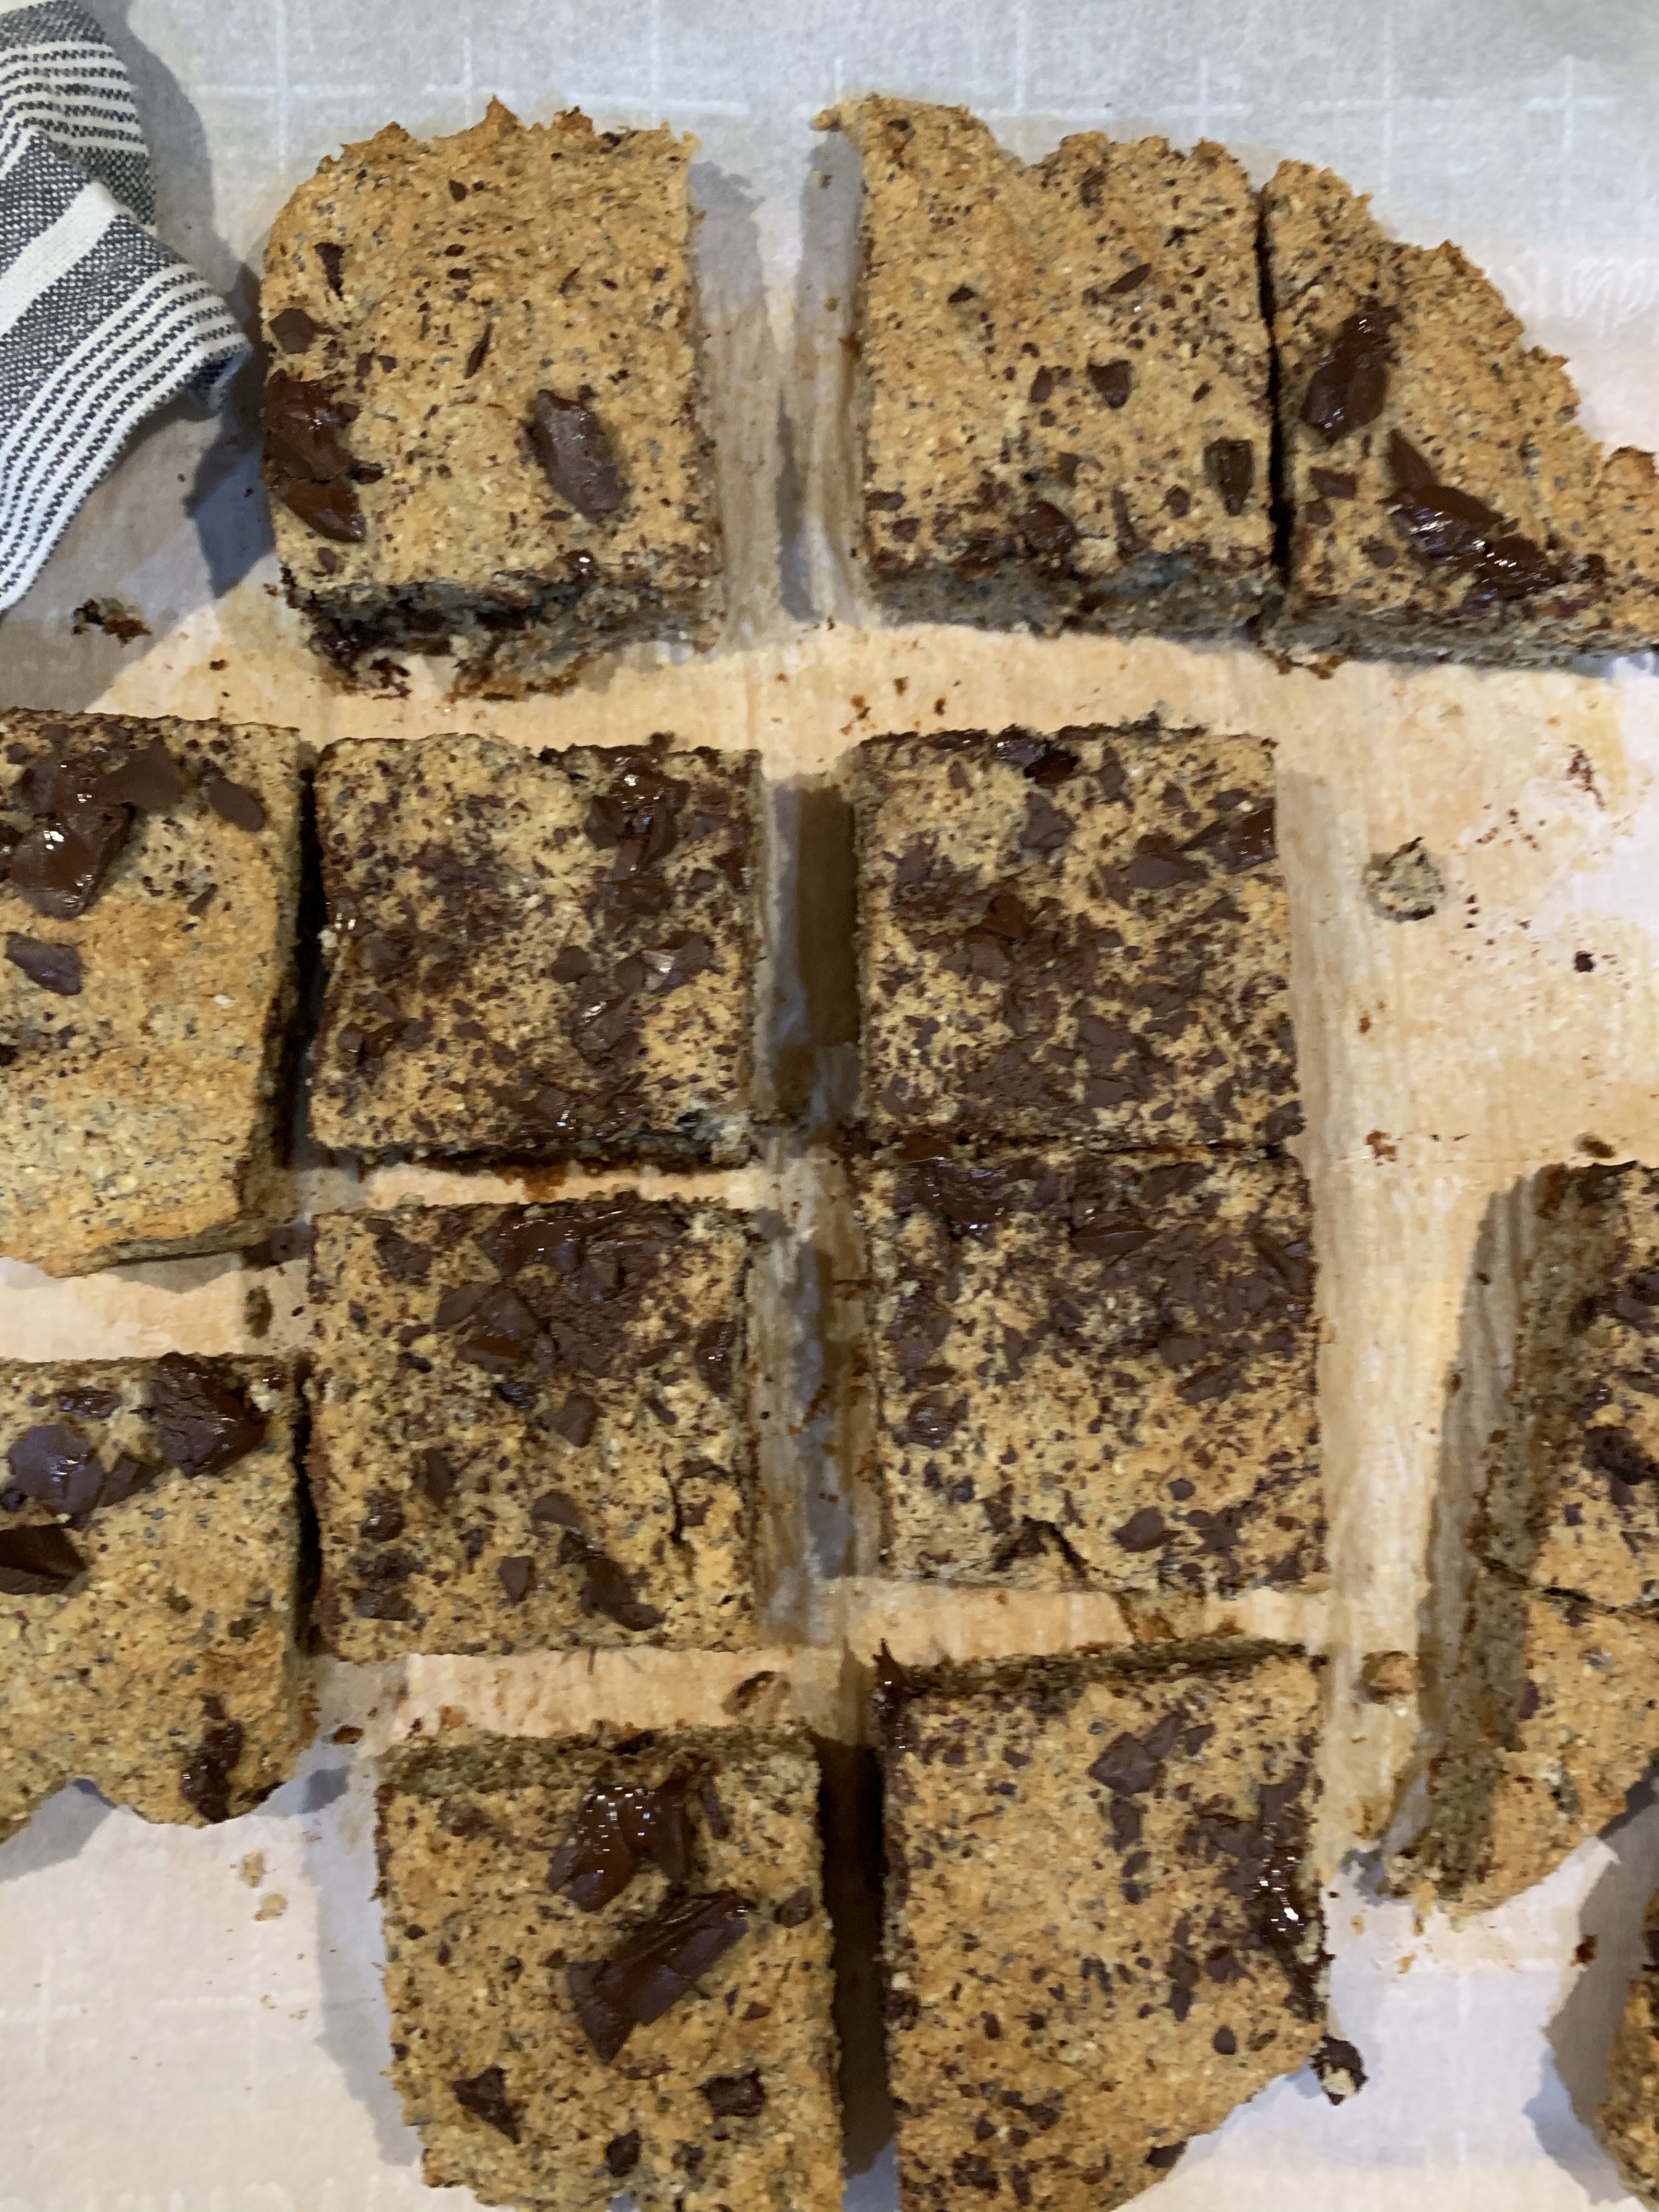
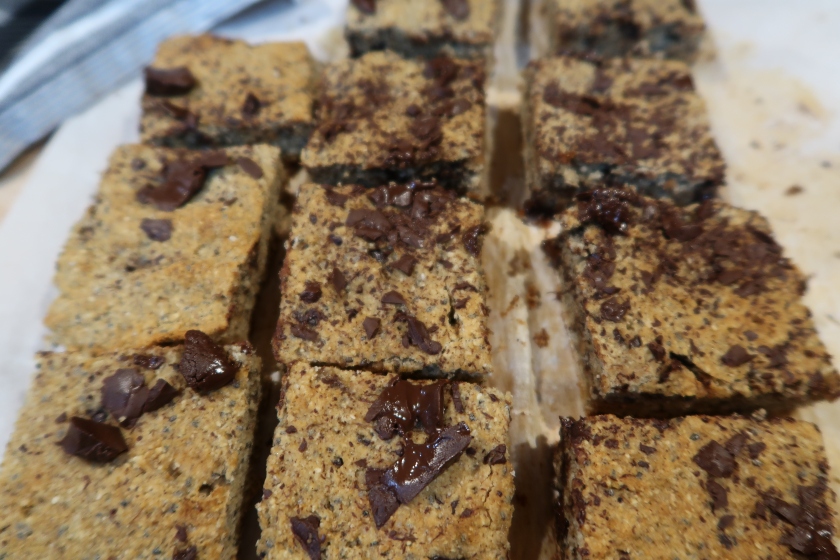
I don’t know why it took me so long to give this trendy and super healthy dessert a try. There are so many recipes online but the one that I will share is a keeper. A lot of the other ones are 15+ ingredients which for my personal taste and cooking skills sounds pretty complicated. When I made these blondies for the first time I didn’t have high expectations. I changed the actual recipe with what I had around my pantry and fridge. But the end result blew my mind. Very moist, nicely sweet treat with the perfect gooey texture.
If you are about healthy eating you most likely have the ingredients around if not they are easy to find. And you don’t need any special mixers or fancy tools. Can’t get any easier.
The blondies I make for myself aren’t plant based but I got you my vegan followers. With just one simple change you can make those all plant based.
What you will need:
2 really ripe bananas
1.5 cup Coconut flour
1/3 cup Coconut sugar
1/3 cup Peanut Butter
1 egg (I will have substitution for vegans below)
1 tbs chia seeds
1 tbs ground flax seeds
1 tsp vanilla extract
1/2 tsp baking soda
1/2 tsp baking powder
dash of cinnamon and salt
dark chocolate
2-3 tbs plant based milk
For Vegans: 1/4 cup plant based milk
Substitutions and tips
You can use almond flour instead. You can mix the coconut flour with regular flour if you don’t like the taste of coconut.
You can skip the chia seeds and/or the flax seeds. I added them to add extra nutritional value and healthy benefits.
I used extra dark chocolate from Trader Joe’s that I broke into pieces but you are welcome to use chocolate chips
Vegan substitution: leave out the egg and use 1/4 cup any plant based milk
How To Make It:
In a large bowl mix the flour, sugar, ground flax seeds, baking soda, baking powder, salt and cinnamon.
In a smaller bowl whisk your egg, add mashed bananas, vanilla, peanut butter.
*for vegans add the nut milk
Add the ingredients from the liquid bowl into the larger bowl. Mix until they are well combined. Add the nut milk, chia seeds and chocolate chips.
Add parchment paper to 9 x 9 baking tray, if the mixture is too thick use spatula or hands to spread it around.
Add chocolate chips on top.
Bake at 350 degrees for 15-20 min. Check by sticking a knife, if it comes out clean they are ready.
Enjoy warm or cold! They are delicious either way!
The past few months my hair was getting super dry, brittle, tangled, a lot of split ends and on top of all that I was loosing more hair than usual. Having thick and hard to manage hair is not fun sometimes. This means planning your washing days, having sore arms after a blow dry, never been able to do certain hair styles and many more inconveniences …But I was used to that and it was kind of natural for me. When I started running hands through my hair and feeling how thin it was getting is when I started appreciating it even more. I started freaking out!!!
I also have a video if you are not into reading you can click and watch it
I figured it was time to take special care. In cases like this I try to minimize all the chemical products so I reached out to my all time trusted natural product Coconut oil. I did give this treatment some time to really see results. I have been doing it for over 3 months. So now speaking and reverting results with confidence.
My goal was to do it once a week, but since it’s a little time consuming I do miss a week here and there.
I started noticing great results right away. My hair gets super shiny, less frizzy and soft with every application. But with continual use I started seeing deeper results. I am getting a lot of new hair growth, my hair does feel and look much better and my scalp is healthier as well. One thing that I wasn’t really looking into but I I have been noticing , my hair is growing really fast. This was never an issue for me but it’s very noticeable. It could be from the massage I perform every time I apply the oil. It’s believed that doing so helps with hair growth but it is not scientifically proven. Well it seems to work for me. I just cut 3-4 inches and need to see the hair dresser again lol.
I still have some days that I loose more hair than I want to but with the new hair growth it gives me hope that I can get my thick hair back.
HOW I DO IT
I do it on dirty hair when I need to shower. I take a little bit coconut oil, warm it in my hands and start applying it. I first do the roots, since they are the source of new hair growth. I spread it around my scalp and I also perform a gentle massage using the tips of my fingers. The massage helps with spreading the product but it also loosens any dead skin cells. Plus it brings blood to the scalp and helps with the blood circulation. I then apply a generous amount oil all over the length of my hair. Twisted in a bun and put it up with a hair clip. In order to not mess my pillow cases I put an old t shirt over the pillow.
Sleep like this and in the morning I shower . I apply a little bit of shampoo on the length of my hair before I wet it. This helps break up the oil and makes it easier to wash out. I shampoo once and put on conditioner. If my hair feels super greasy I shampoo second time but use very minimal amount of product. Then I treat my hair as usual.
WHAT I USE
I use Organic Unrefined Virgin Coconut oil.
The same one I use for cooking. I do believe that the cleaner the product the better the results would be.
This is the in the morning after I washed it out
One downside of this whole treatment is that I need to plan my hair washing a bit. I usually shower at night so I have to make sure that I can wash my hair before I start my day. But I will definitely keep doing it!
I hope you guys find this helpful and try it for yourself if you have any hair issues or concerns.
The best cookie recipe that is perfect for Christmas but honestly I make them year round!
I played around with the traditional recipe and made it a bit healthier and so much more delicious. I don’t like using food coloring in my coking so I decided to decorate them with dark chocolate, nuts and coconut shreds. But if you have kids you can totally decorate them in traditional Christmas way with frosting and sprinkles.
What you will need:
2 eggs
1 cup sugar ( I use coconut sugar)
1 cup oil ( I use coconut oil and it works so well with this recipe)
2 tbs honey
2 tsp cinnamon
1 tsp baking soda
3 cups flour ( or as much as it takes to get a soft dough)
What you will do:
In a large bowl mix the eggs and the sugar until it’s dissolved. And then first add the oil followed by the rest of the ingredients. Mix them well and start adding the flour. I use regular mixer at the beginning and then finishing it off with hands. You need to get a soft dough consistency.
Take a small piece of the dough, put it in between 2 parchment papers and roll it. Use cookie cutters with desired shapes. Bake in pre-heated to 350 degrees F oven for about 10 min. Be careful to not burn them, they need to be light brown and soft to the touch. Check by sticking a toothpick or I use a wooden skewer. If it comes out clean they are ready. They might seem not ready at first but it’s so easy to go overboard and accidentally cook them until gold , and those extra minutes will get the cookies a little bit overdone. Not a huge deal but they will be a bit hard.
You can eat them right away but something to consider is that the longer those cookies stay the tastier they become. You can make them 2-3 days in advance so by Christmas they will be at their best!
For decorating:
I melt dark chocolate with a little bit coconut oil over a pot with water. I also grinded walnuts, almonds or hazelnuts. And use coconut flakes.
I sometimes make thinner cookies and use fruit preserves to assemble 2 together. And then add chocolate and while still hot I sprinkle the nuts or/and coconut flakes!
If you are looking to get plumper and juicier lips but are not ready do go full force and get a lip filler keep reading and thank me later.
I will share with you a DIY lip plumper that compared to the store bought ones will really give you an instant and visible result. Not only it will make them look bigger but it will give them flushed color, kind of the perfect color that compliments your complexion.
The ingredients are super simple and easy to find. All you need is a regular lip balm or good old Vaseline and the second ingredient is Cinnamon essential oil.
I have been breaking out a lot lately and feeling really bloated so I decided to limit my sugar intake, I saw a lot of people doing a no sugar challenge and wanted to give it a try myself!
I felt like eliminating sugar from my diet could help me with those issues. Plus approaching the holiday season I wanted to give my body a detox so I can indulge in unhealthy meals and sweet treats later on. I decided to exclude all foods with added sugar and artificial sugar but keep fruit and natural sweeteners like honey and maple syrup. And my goal was to do it for a week!
Added sugar is found in many unexpected things. Ketchup, ranch, balsamic vinegar, soy sauce, most of the sauces and salad dressings all the things that basically give flavor to your meal, pretty much all the snacks and not to forget all the yummy drinks.
It wasn’t an easy experience! And also the fact that I picked Thanksgiving week added an extra torture 😦 I had to say no to cocktails, desserts and traditional meals.
This is a roundup of my experience, but I also have a video on my YouTube channel with initial reactions and honest thoughts.
I start my day with a cup of coffee that I sweeten with brown sugar, but substituted with organic maple syrup over this week and honestly it was perfect. Way healthier alternative to sugar and considering switching to it in the long term . I prefer eating savory breakfast so the rest of the morning was easy, avo toast, eggs, I just switch the toppings on the toast and the style of the eggs and I can have it every. single. day!
Lunch was a bit different and harder to manage. I eat my breakfast around 11 so for lunch I am on the go and either grab a protein bar or a smoothie, but this week threw me out of my routine. I had to plan in advance. I love picking up food from Whole Foods but now with the pandemic situation they don’t have the buffet style setting anymore where I could mix and match myself. Now the food is packaged so it added a bit negativity to my experience.
Had to say no to pizzas, pastas, sushi all kinds of glazed fish, bowls with marinated chicken and all the stuff I actually wanted. I mainly had hummus with veggies, salads with lemon juice and olive oil, plain chicken. But I was trying to eat more at home where I can control the ingredients.
Dinner was pretty easy too since I cooked and prepped it myself. I had limitless options. Grilled chicken , fish, steak all with just salt and black pepper, sautéed veggies, rice, mashed potatoes, salads with white vinegar and olive oil, these are just examples of how simple and versatile dinner with no sugar can be.
My biggest issue was sweet cravings. I always thought I don’t have a sweet tooth but the cravings I had proved me wrong. I had to fight the desire for chocolate cake or donuts with dates and dried figs making sure they didn’t have any added sugars. Some people experience less cravings after cleaning out their bodies from unhealthy sugars but it wasn’t the case with me . Plus a week is probably not enough to train your body to a new lifestyle.
I did see a difference in the way I felt and looked though. Didn’t have any new breakouts, my skin was clear and more radiant , the bloating was reduced and my abs became more visible YAY! I was energized and felt lighter, probably because the bloating was gone. Didn’t lose any weight but my waist got smaller and more defined.
This whole new experience for me was all worth it and maybe in the future I will do it again. I won’t turn this into a lifestyle though because I believe in balance diet and I don’t feel good when I deprive myself. Having a sweet treat doesn’t really affect my healthy lifestyle in a negative way as long as I do it with moderation. But a sugar detox once in a while won’t hurt me!
Thanks for stopping by,
Iva
Before cutting sugar out for a weekDay 7 of eating zero added and artificial sugar
I have been adding collagen supplement to my daily routine for the past 6-7 years and I really believe in its benefits. I normally take it for a month or so and then give it a few months break and then start over. When I take it I immediately notice healthier and more youthful skin, my breakouts clear and my scars diminish. The added bonus for conditioning and keeping joints healthy is amazing as well but personally I don’t really see a noticeable difference but it is a nice bonus for the long run.
The past few years the supplement got its spotlight. And as everything trendy the new marketing strategies are limitless. You can find so many different formulas and brands . The manufacturers are trying to catch the consumer’s eye by adding flavors, different types of collagen, they come in different forms (powders, pills, capsules and now even liquid) they keep adding extra verbiage on the packaging that in stead of making it easier for the consumer, it is getting really frustrating and hard to pick the right kind.
Not to mention that a lot of brands sell really poor quality products since FDA doesn’t really regulate them. So with something that goes into my body I felt really concerned and kept researching and educating myself on the topic. And I made a list of the most important things you should look for when you pick your collagen.
Types of collagen that are most common are I ,II , III.
You should pick up one that has Types l and III – those are the most important types that we need for our skin and joint health.
Finding one that has type II is not necessary vital and the ones that have many more types are just to catch your eye. Don’t get fooled that the more types it has the more benefits and effectiveness it will have.
You should look for Hydrolyzed Collagen Peptides
Naturally collagen doesn’t get absorbed from our body, that is where the controversial opinions for its effectiveness come from. We just take it and it goes through our body and gets flushed out! That is why the scientists came out with hydrolyzed collagen peptides which means that the amino acids in them are broken down so the body can digest and absorb them. There is not enough scientific evidence that this really helps , but from my own experience I do believe it makes some difference!
Another thing you should look for is a Diverse Amino Acid profile at least 10. This will add a bunch to its effectiveness and help your body absorb more of its benefits.
Magnesium and Vitamin C also add a lot for its absorption.
Make sure you are getting Bovine Collagen ( comes from beef) and highly recommended Grass Fed/ Pasture-Raised.
What to avoid: What to look for:
Added colors
Artificial flavors
Soy
Non-hydrolyzed collagen
Artificial additives
Sugar
Hydrolyzed Collagen
Peptides
Type I & Type III
Bovine
Grass Fed / Pasture-Raised
Magnesium
Vitamin C
At least 10 amino acids
Another thing to avoid is Marine Collagen. Even though it is getting its popularity there is no strict rule where it should be sourced from meaning you don’t know if it comes from fish or other seafood not rich in collagen.
Make sure to save this post to Favorites, pin it on Pinterest or just take a screenshot so you can have it handy next time you shop for Collagen!!