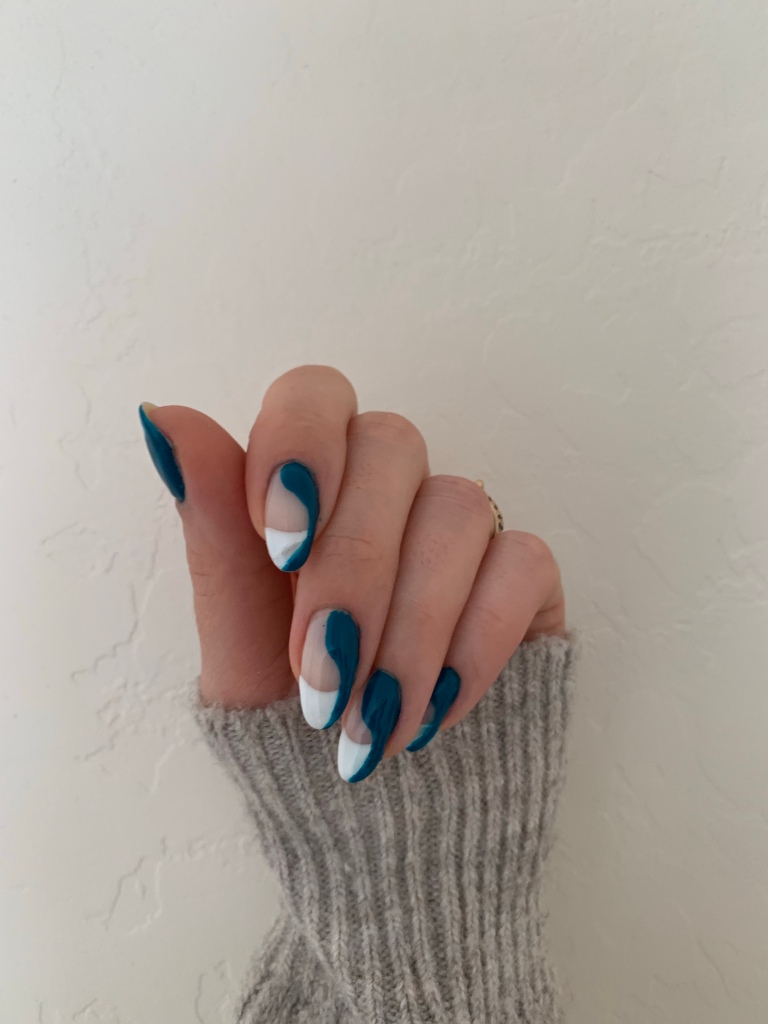
This summer I really wanted to have trendy long nails. Got some pic inspo from Pinterest and headed to the nail salon super excited. I wanted almond shape and had a nail polish combo in mind too. I got poly gel extensions and omg… totally different from my expectations they looked ugly. I was so bummed! I can’t tell you how disappointed I was. They looked so FAKE. I haven’t had fake nails so I didn’t know what to ask for and tell the nail tech how to correct it. So I embraced the result and stuck with it for 2 weeks. I thought they will grow on me, but didn’t happen.
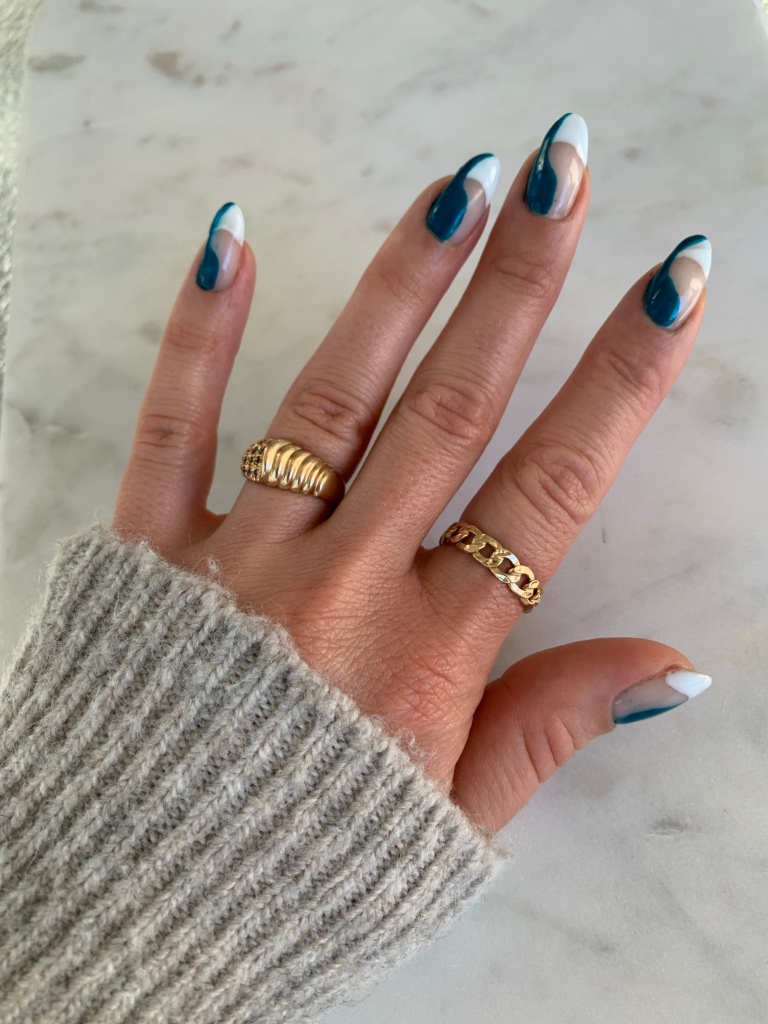
I know that some nail tech are good at mimicking that natural nail look but honestly every time I get my nails done I am regretting it afterwards. My gel polish would either peel off the first week or my nails would not be to my desired look. So that time I took a decision to grow out my own nails once I get those fakes off. I wanted natural looking long nails and in my mind my only option was to just get my natural nails grow out.
Ever since that growing phase started I got into gel nail polish. I like that it lasts longer and looks shiny and fresh until the end as opposed to regular nail polish that looses the shine and stars chipping way faster. But the main thing for me is that it makes the nails thicker ( I mean temporarily, only while you have it on. Not a long term fix)and provides that extra support for my natural long nails. It is what helped me grow them out. Because while I have it on, my nails are more break resistant and I don’t pick on them, which lets them grow. And even if it is a bit more damaging than regular nail polish I have mastered the technique by now and I keep the damage to a minimum so I can still have strong nails underneath the gel.
And here I will share my tips to do gel nail polish at home and it will be really helpful if you are a beginner. This is based on a lot of error and trial, techniques I picked up from professionals and a lot of research on google.
First thing is get a gel polish starter kit. Plenty of them on Amazon and very affordable. They come with all the necessary polish steps and a lamp. This way you don’t have to stress about what to get. Once you master the process you can go ahead and upgrade and buy individual polishes or base and top coat by your liking and needs.

https://rstyle.me/cz-n/f4ny94c5s47 this one has a nice range of colors and a lot of other tools and goodies that you might get a use of in the future.
Gel nail polish is very different from regular nail polish. It requires some prepping of the nail and steps that you should not overlook.
After you do your basic mani steps and take care of your cuticles by pushing or cutting them, the first and crucial step is removing the shine off the nail. If you skip this step your polish will peel right off on the second or third day. I use a very fine buffing file and gently swipe it all over my nail. Making sure I get the part around the cuticle. This is usually the part where gel nail polishe starts to lift and then get caught in your hair or clothes and it gets super annoying and your manicure is going to its end.
Polishing file https://rstyle.me/+Fiu1WhrD9EBJiqP7h231Mw
STEP 2 use alcohol and a lint free wipes to remove any oily residue from the nails that can affect the longevity of your manicure.
Lint free wipes https://rstyle.me/+Fiu1WhrD9EBJiqP7h231Mw
STEP 3 use a nail primer (should be included in the kit). It gets your nail to the right pH level to prep it for the polish. You don’t need to cure after this step. Just wait for 1-2 min after application and move to step 4.
STEP 4 apply one coat of base and cure for 60-90 seconds. The curing time depends on the lamp you are using. Most of the lamps in those not professional starting kits are not really strong. So adjust the time of curing accordingly. Start with 60 seconds and add more if the polish hasn’t hardened.
If after you have cured it you feel you have a lot of sticky residue you can wipe the nail with alcohol and lint free wipe. You can repeat this process after each layer. Sometimes lint pieces get stuck on the sticky surface and it can ruin the appearance of the layers applied afterwards. I also recommend doing one hand at a time. Paint/cure / paint cure until finished and then move to the other hand.
STEP 5 apply a coat of desired polish color. I personally don’t like the look of really thick gel polish so I try to do thin layers. I place a dot a little bit over my cuticle and then spread the polish around. Trying to not go over the cuticle. I always get some polish over my skin and cuticle but I use a tiny brush dipped in nail polish remover to go around the cuticle area and clean the mess BEFORE I cure.
I always do at least 2 coats. Depending on the color and the desired result I may go over with a third one.
STEP 6 apply top coat and cure.
STEP 7 clean the sticky residue with alcohol and apply cuticle oil.
Repeat on the other hand.
Voila!
My manicure usually lasts about 2-3 weeks. Most of the time I take it off after 2 and a half weeks before it even starts chipping because I don’t like the look of grown out nails.
Removal process is also very important so I don’t want to leave this out of the post. If you don’t do this right you can really cause damage to nails in the long run.
The best way I found is to use 100% Acetone! Even though pure acetone is believed to be damaging to the nails I feel that using milder nail polish removers can cause more damage. You won’t be able to remove it easily and you have to really scrape and pull the gel polish and this can really remove layers of your nail. And it can be painful as well. So by applying cotton rounds soaked in acetone and wrapping foil around each nail the gel gets really soft and easily slides right off the nail.
If you are concerned about the health of your nails. Leave them bare for a couple of days and use a nail strengthener in between your gel manicures. I love this one by OPI https://rstyle.me/cz-n/fub5gwc5s47.
Thanks for stopping by!


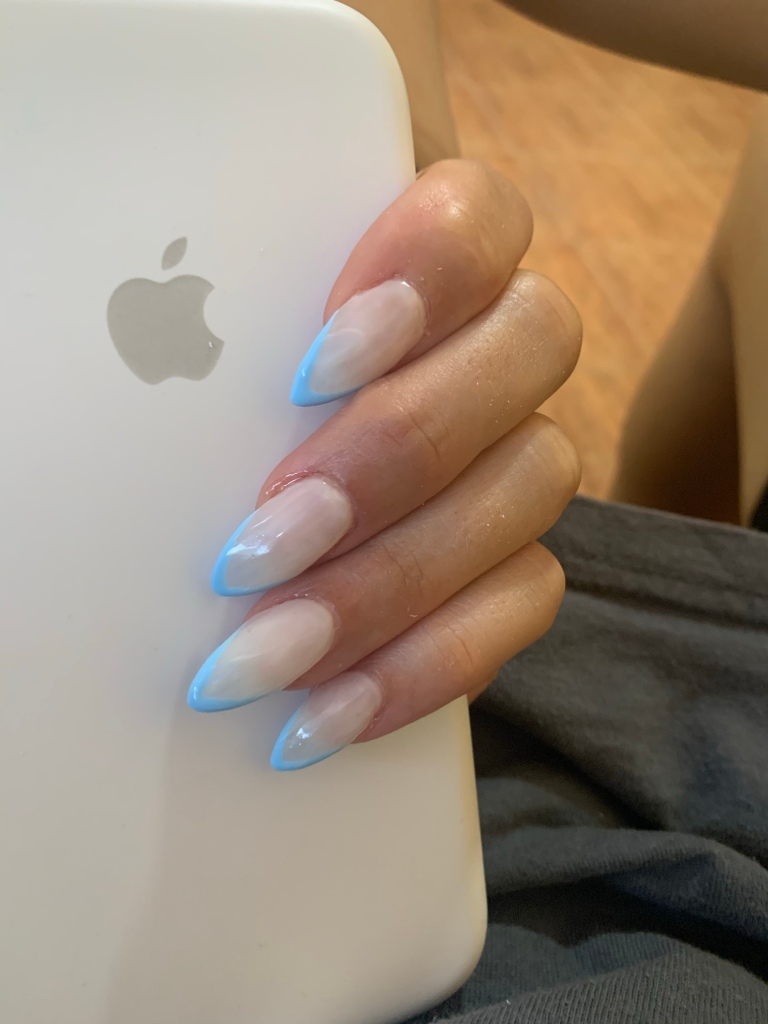
Those are the poly gel extensions I got at the salon and I hated them
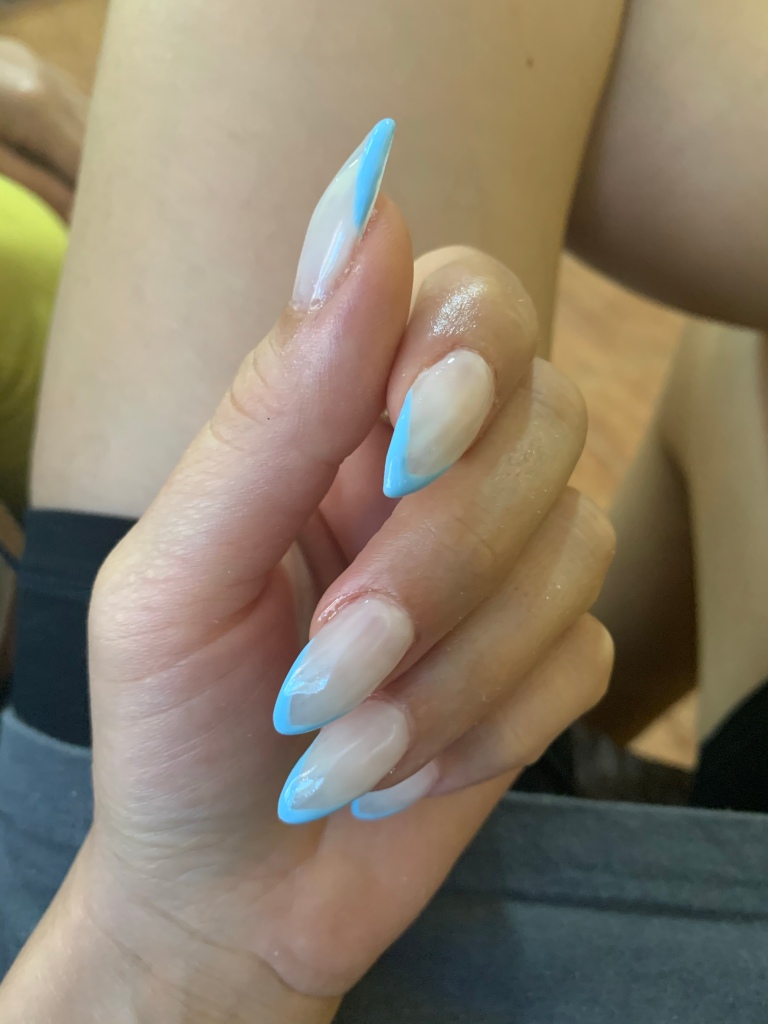
It is hard to tel from the picture but they are so thick